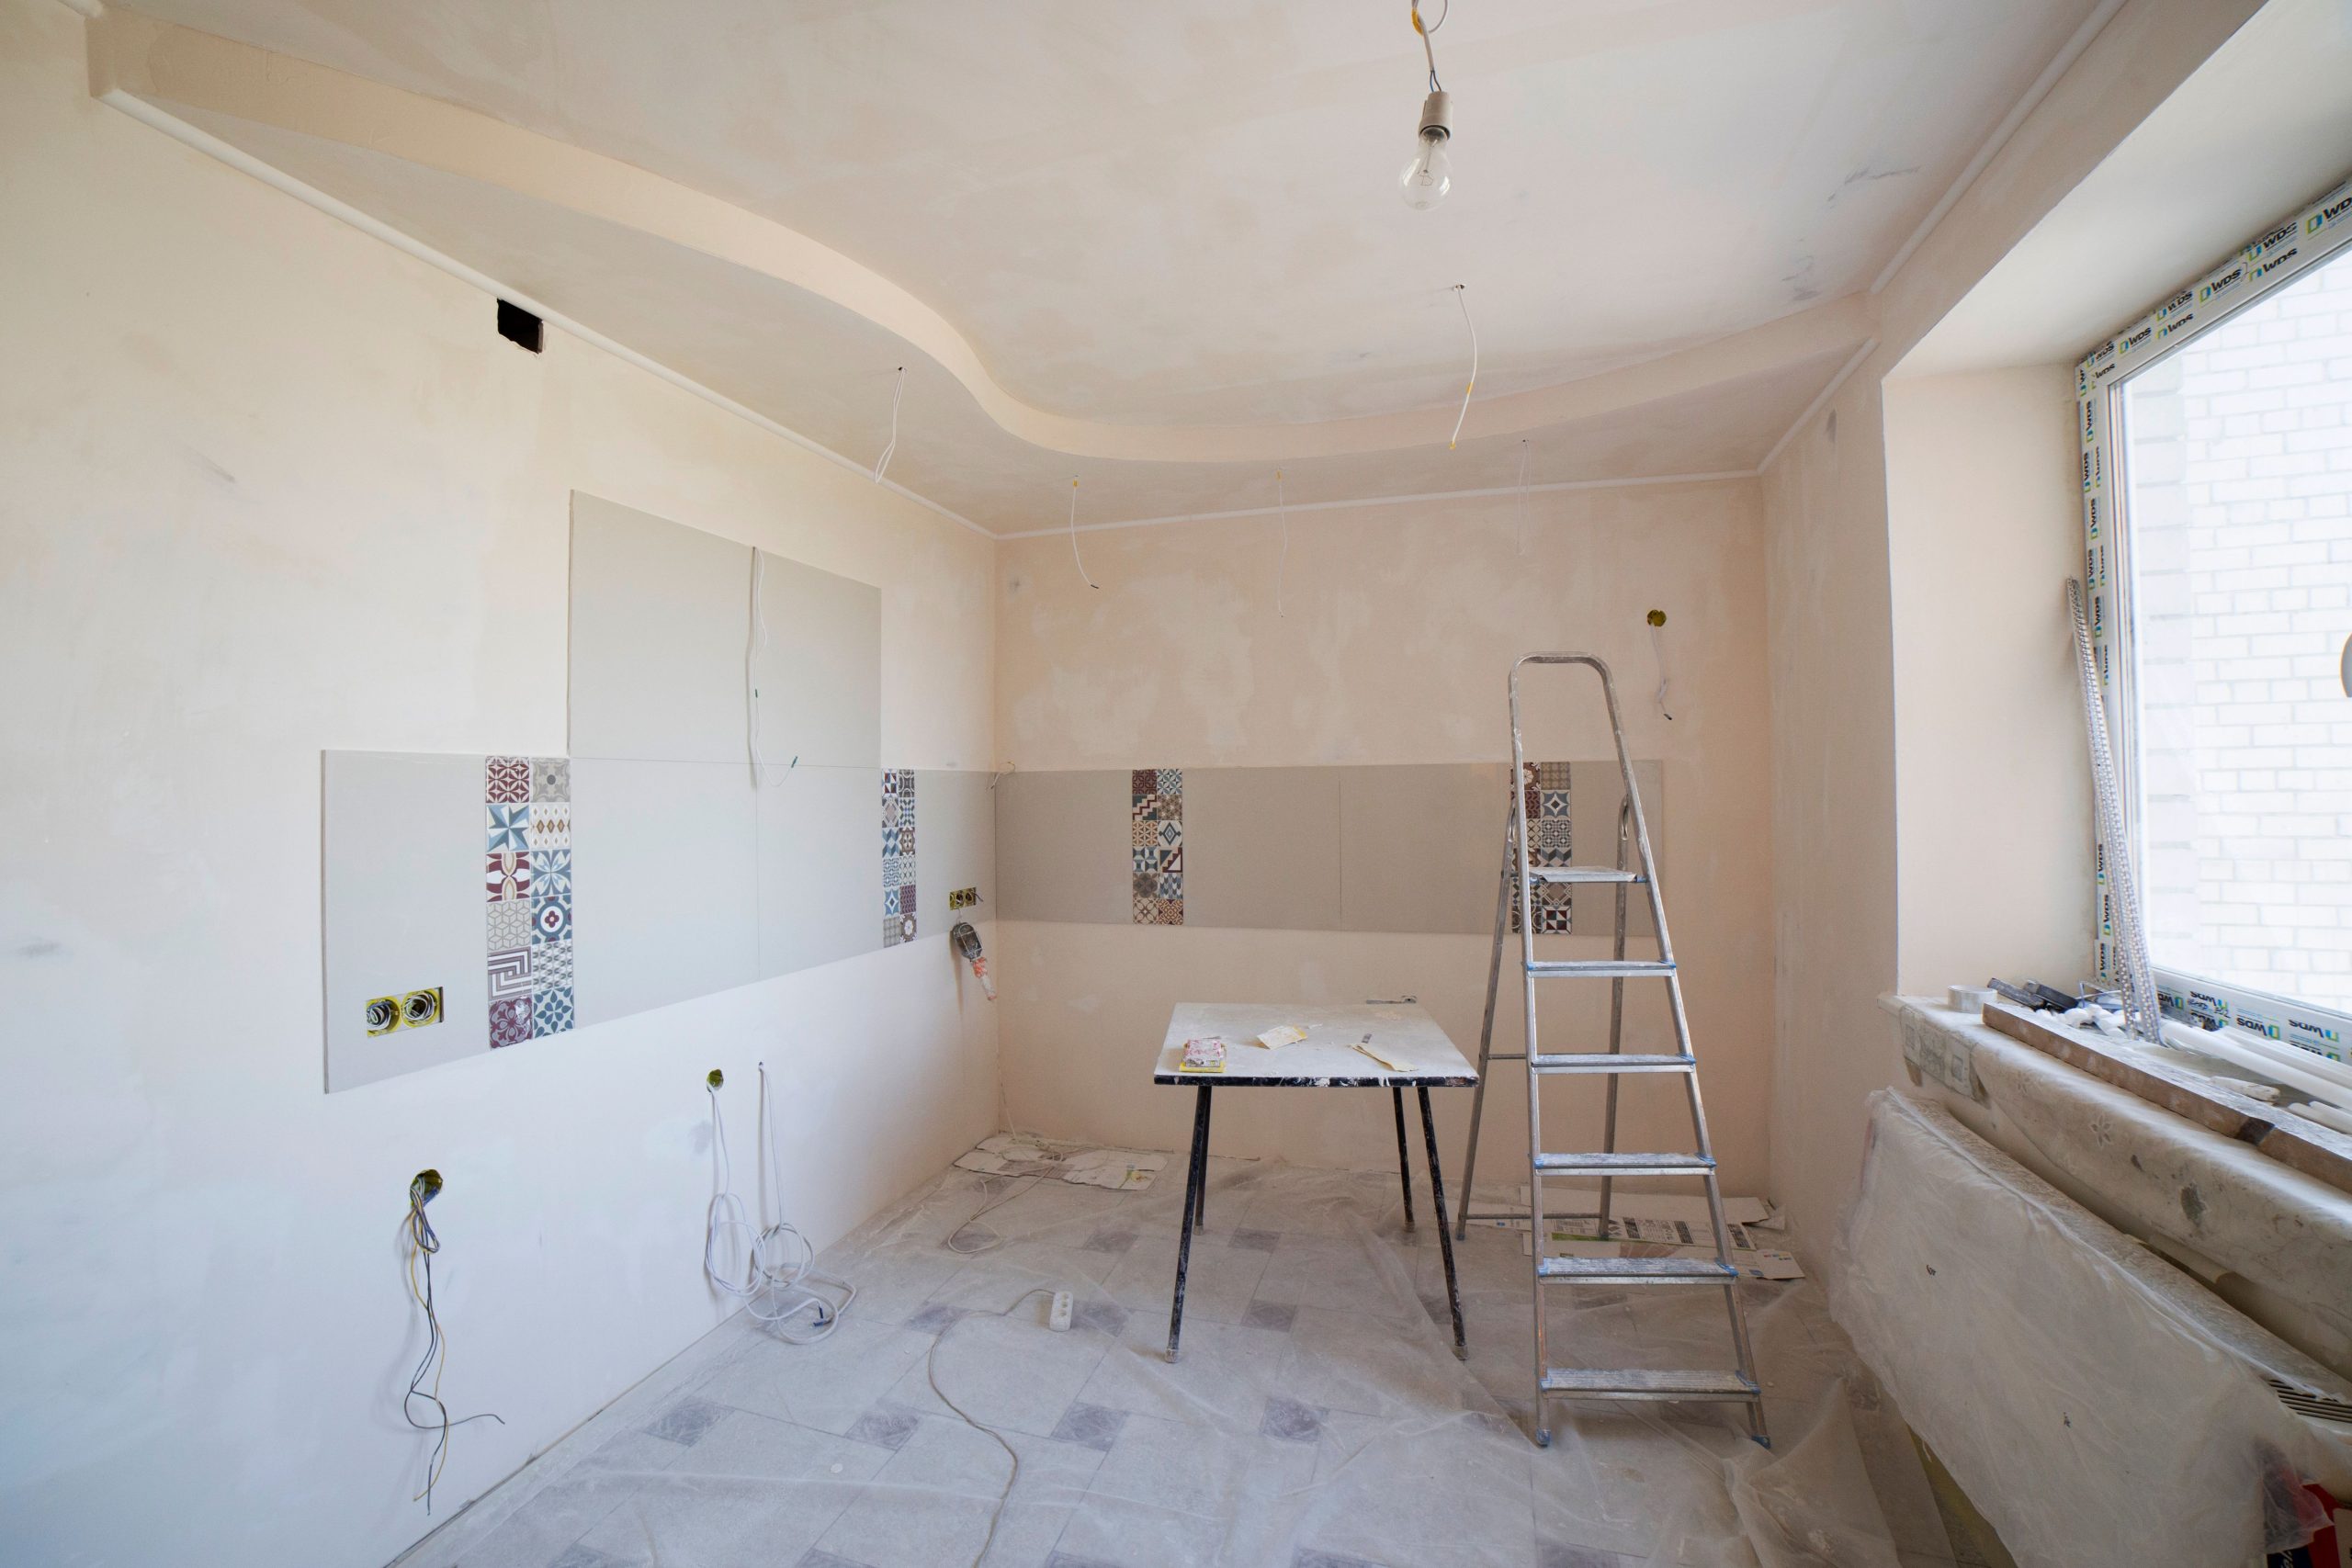
DIY Home Renovation Ideas on a Budget for Every Room
Key Takeaways
- Smart planning and realistic cost expectations prevent the most common pitfall: running out of money halfway through a project.
- Paint, hardware swaps, and peel-and-stick materials deliver dramatic visual changes for under $100 per room.
- Kitchen and bathroom refreshes don’t require gutting — targeted cosmetic upgrades can transform both spaces affordably.
- Exterior improvements like garage doors and front entry updates offer some of the strongest returns on investment.
- Thrift stores, online marketplaces, and salvage yards are goldmines for character pieces at a fraction of retail prices.
- Learning a handful of basic skills — patching drywall, caulking, and installing shelving — eliminates most contractor callouts for small jobs.
- Tackling one room at a time keeps mess manageable, protects your wallet, and lets you enjoy each finished space before starting the next.
Why So Many Homeowners Feel Stuck Before They Even Start
You walk through your house on a quiet Sunday morning, coffee in hand, and spot everything you want to change. The scuffed baseboards. The dated light fixture in the hallway. The kitchen cabinets that have looked tired since you moved in. The urge to fix it all hits at once, and then the second wave arrives: the price tag. Suddenly, the whole project feels impossible, and the mug goes back on the counter.
That paralysis is the single biggest barrier most people face when they want to improve their homes. It’s not laziness. It’s not lack of taste. It’s the gap between the inspiration photos and the sticker shock that follows a few searches online. The good news is that the gap is far smaller than it looks, and most of the transformations you see on social media rely more on strategy than on massive bank accounts.
This guide walks through the real problems homeowners run into — room by room — and offers specific, doable fixes for each one. No fluff, no vague advice, just practical ways to reshape your space without emptying your savings.
How Do You Set a Budget That Actually Works?

The first problem isn’t the paint color or the flooring choice. It’s figuring out what you can genuinely afford before you fall in love with anything. Most people either underspend and end up with half-finished rooms, or they overspend because they didn’t plan for the little things that add up: primer, drop cloths, new brushes, that extra trip to the hardware store.
Start by writing down every single room you want to touch and ranking them by urgency. Safety and function come first, then comfort, then pure aesthetics. According to Houzz, the median planned renovation spend sits at $15,000 in 2026, down from $20,000 in 2025, which tells you most households are tightening belts and prioritizing smarter spending over splashier projects.
Building Your Line-Item Spreadsheet
Open a basic spreadsheet and create columns for room, task, materials, estimated cost, and actual cost. Add a ten to fifteen percent buffer line at the bottom for surprises because surprises always come. If you want a deeper framework for mapping this out, check out this guide on building a realistic home project budget before you pick up a single paintbrush.
Keep receipts organized in a folder from day one. You’ll thank yourself later when you need to compare what you planned to what you actually spent, and that data makes the next room much easier to budget.
What Can You Really Do in the Living Room for Under $200?
The living room is where guests form their first impression and where you spend most of your downtime, so dated furniture or scuffed walls hit harder here than almost anywhere else. The common complaint is that everything looks tired, but nothing is broken enough to justify replacing. That’s a trap. You don’t need to replace anything to make the room feel new.
Paint is the single most powerful tool you own. A gallon of quality interior paint runs between $30 and $50, and a fresh coat on the walls — or even just one accent wall — can shift the entire mood. Pair that with rearranging furniture away from the walls, swapping throw pillows, and adding a large mirror from a thrift store, and the room reads as completely refreshed.
Here are low-cost upgrades that pack visible punch:
- Swap heavy drapes for inexpensive linen panels that let in more light
- Add a peel-and-stick wallpaper strip behind a bookshelf for depth
- Replace dated light switch plates with brushed nickel or matte black
- Hang a gallery wall using dollar store frames painted a uniform color
- Layer two cheap area rugs to create a custom look under the coffee table
The point is that small, coordinated changes read as one big transformation when they all land in the same weekend.
Can the Kitchen Really Be Refreshed Without a Full Remodel?
Kitchens scare people more than any other room because the stories about gut jobs running $40,000 or more are everywhere. But you don’t have to gut anything. The surveys back this up — according to The Farnsworth Group, roughly 74 percent of DIY homeowners tackled maintenance projects in the first quarter of 2026, which shows how much progress gets made through small, consistent effort rather than massive overhauls.
Start with the cabinets since they dominate the visual space. Cleaning them thoroughly, lightly sanding, and repainting them with a good cabinet enamel costs under $150 in materials and transforms the room. Replace the hardware with modern pulls from a bulk online retailer for another $40 or $50. Suddenly the kitchen looks like it belongs in a different decade.
Countertops and Backsplashes Without the Price Tag
If your counters are fine but boring, concrete overlay kits or specialty paint systems can mimic stone for around $100 per kitchen. Peel-and-stick tile for the backsplash is genuinely convincing now — the better brands look nearly indistinguishable from real tile, and you can finish the install in an afternoon with scissors and a level. These home renovation ideas on a budget work because they target the surfaces your eye actually lands on when you walk in.
Don’t forget lighting. Swapping a flush-mount fixture for a modest pendant over the sink or an inexpensive track light over the main workspace changes how the whole room feels at night.
What’s the Smartest Way to Tackle the Bathroom?
Bathrooms are expensive because they involve plumbing, tile, and tight spaces that make every mistake costly. The problem most homeowners face is that even a modest update can snowball once you start pulling things apart. According to This Old House, a realistic starting point for a full bathroom refresh is $6,456 for a small space with basic cosmetic updates, which puts the lower bound into perspective when you’re deciding whether to hire out or go DIY.
The solution is to resist the urge to rip and replace. Keep the tub, the toilet, and the vanity carcass. Focus on what you see: the vanity top, the faucet, the mirror, the lighting, the hardware, and the paint. A new faucet runs $60 to $150. A framed mirror or a thrifted one you refinish costs almost nothing. Repainting the vanity cabinet and adding new drawer pulls takes a weekend.
Regrouting and Recaulking Make Old Tile Look New
The grout lines in an older bathroom collect grime that no amount of scrubbing fully removes. A grout pen costs about $10 and lets you trace over every line in an hour, instantly brightening the floor and shower walls. Follow that with a fresh bead of white caulk around the tub and sink, and the space looks years younger without a single tile being pulled.
Storage is the other complaint people have about bathrooms. Floating shelves above the toilet, a slim rolling cart beside the vanity, or a mounted basket for towels all cost under $40 and solve the clutter problem that makes small bathrooms feel smaller than they are.
How Do You Make a Bedroom Feel Like a Retreat Without Spending Thousands?
Bedrooms suffer from a specific kind of neglect. People pour money into shared spaces where guests see the result and leave the room they actually sleep in with mismatched furniture and builder-grade everything. The fix is almost entirely about texture and light.
Start with the bed itself since it occupies most of the visual real estate. A new duvet cover from a discount home goods store runs $30 to $60 and changes the whole room. Layer two pillow sizes you already own in fresh cases, add a throw at the foot, and the bed suddenly looks styled instead of slept in.
Behind the bed, create a focal point without buying a headboard:
- Hang a large tapestry or inexpensive woven rug on the wall
- Install a long horizontal picture ledge and lean framed prints
- Paint a rectangle in a contrasting color to mimic a headboard shape
- Mount two sconces on either side to free up nightstand space
- Use removable wood slats for a paneled accent wall under $75
Lighting matters more in bedrooms than people realize. Swap harsh overhead bulbs for warm 2700K options, add a plug-in dimmer, and put a small lamp on each side of the bed. The room will feel calmer the moment you flip the switch.
What About the Kids’ Rooms and Home Office?
These rooms get skipped because they feel temporary. Kids outgrow their spaces, and home offices often started as spare bedrooms that never got proper attention. But both benefit enormously from cheap, targeted work.
For kids, paint one wall with magnetic or chalkboard paint for around $25 and you’ve added a feature they’ll use daily. Floating cube shelves from flat-pack retailers hold books and toys for under $20 each. A secondhand dresser repainted in a bold color becomes the anchor piece without the anchor price.
Home offices need two things most of them lack: better lighting and better storage. A clip-on task lamp, a corkboard or pegboard wall for organization, and a thrifted wooden desk sanded and sealed will outperform most big-box office furniture at a quarter of the cost. Cable management with a $10 under-desk tray eliminates the visual noise that makes a workspace feel chaotic.
Are There Easy Wins for Hallways, Entries, and Other Forgotten Spaces?
Transition spaces rarely get design attention because no one lingers in them, but they shape how every other room feels. A dim, cluttered entry sets a tone that no amount of living room styling can undo.
Simple Changes for High-Impact Transitions
A narrow console table, a hook rail for coats, a basket for shoes, and a mirror above the console turn a chaotic entry into a functional one for less than $150 total if you shop secondhand. Add a runner rug and a single overhead fixture swap, and the space finally feels intentional.
Hallways respond well to gallery walls, but the trick is uniform frames and consistent spacing. Mismatched sizes with matching black or natural wood frames read as curated. Paint the hallway a shade lighter than the adjoining rooms to make it feel wider, and swap any dated builder fixtures for simple flush-mount LED discs that run $20 to $40 each.
Staircases are another overlooked zone. A painted runner stripe down the center of wooden stairs, new balusters in matte black, or even just repainting the risers white while staining the treads darker creates a custom look for the cost of a few quarts of paint.
What Exterior Projects Deliver the Biggest Visual Payoff?
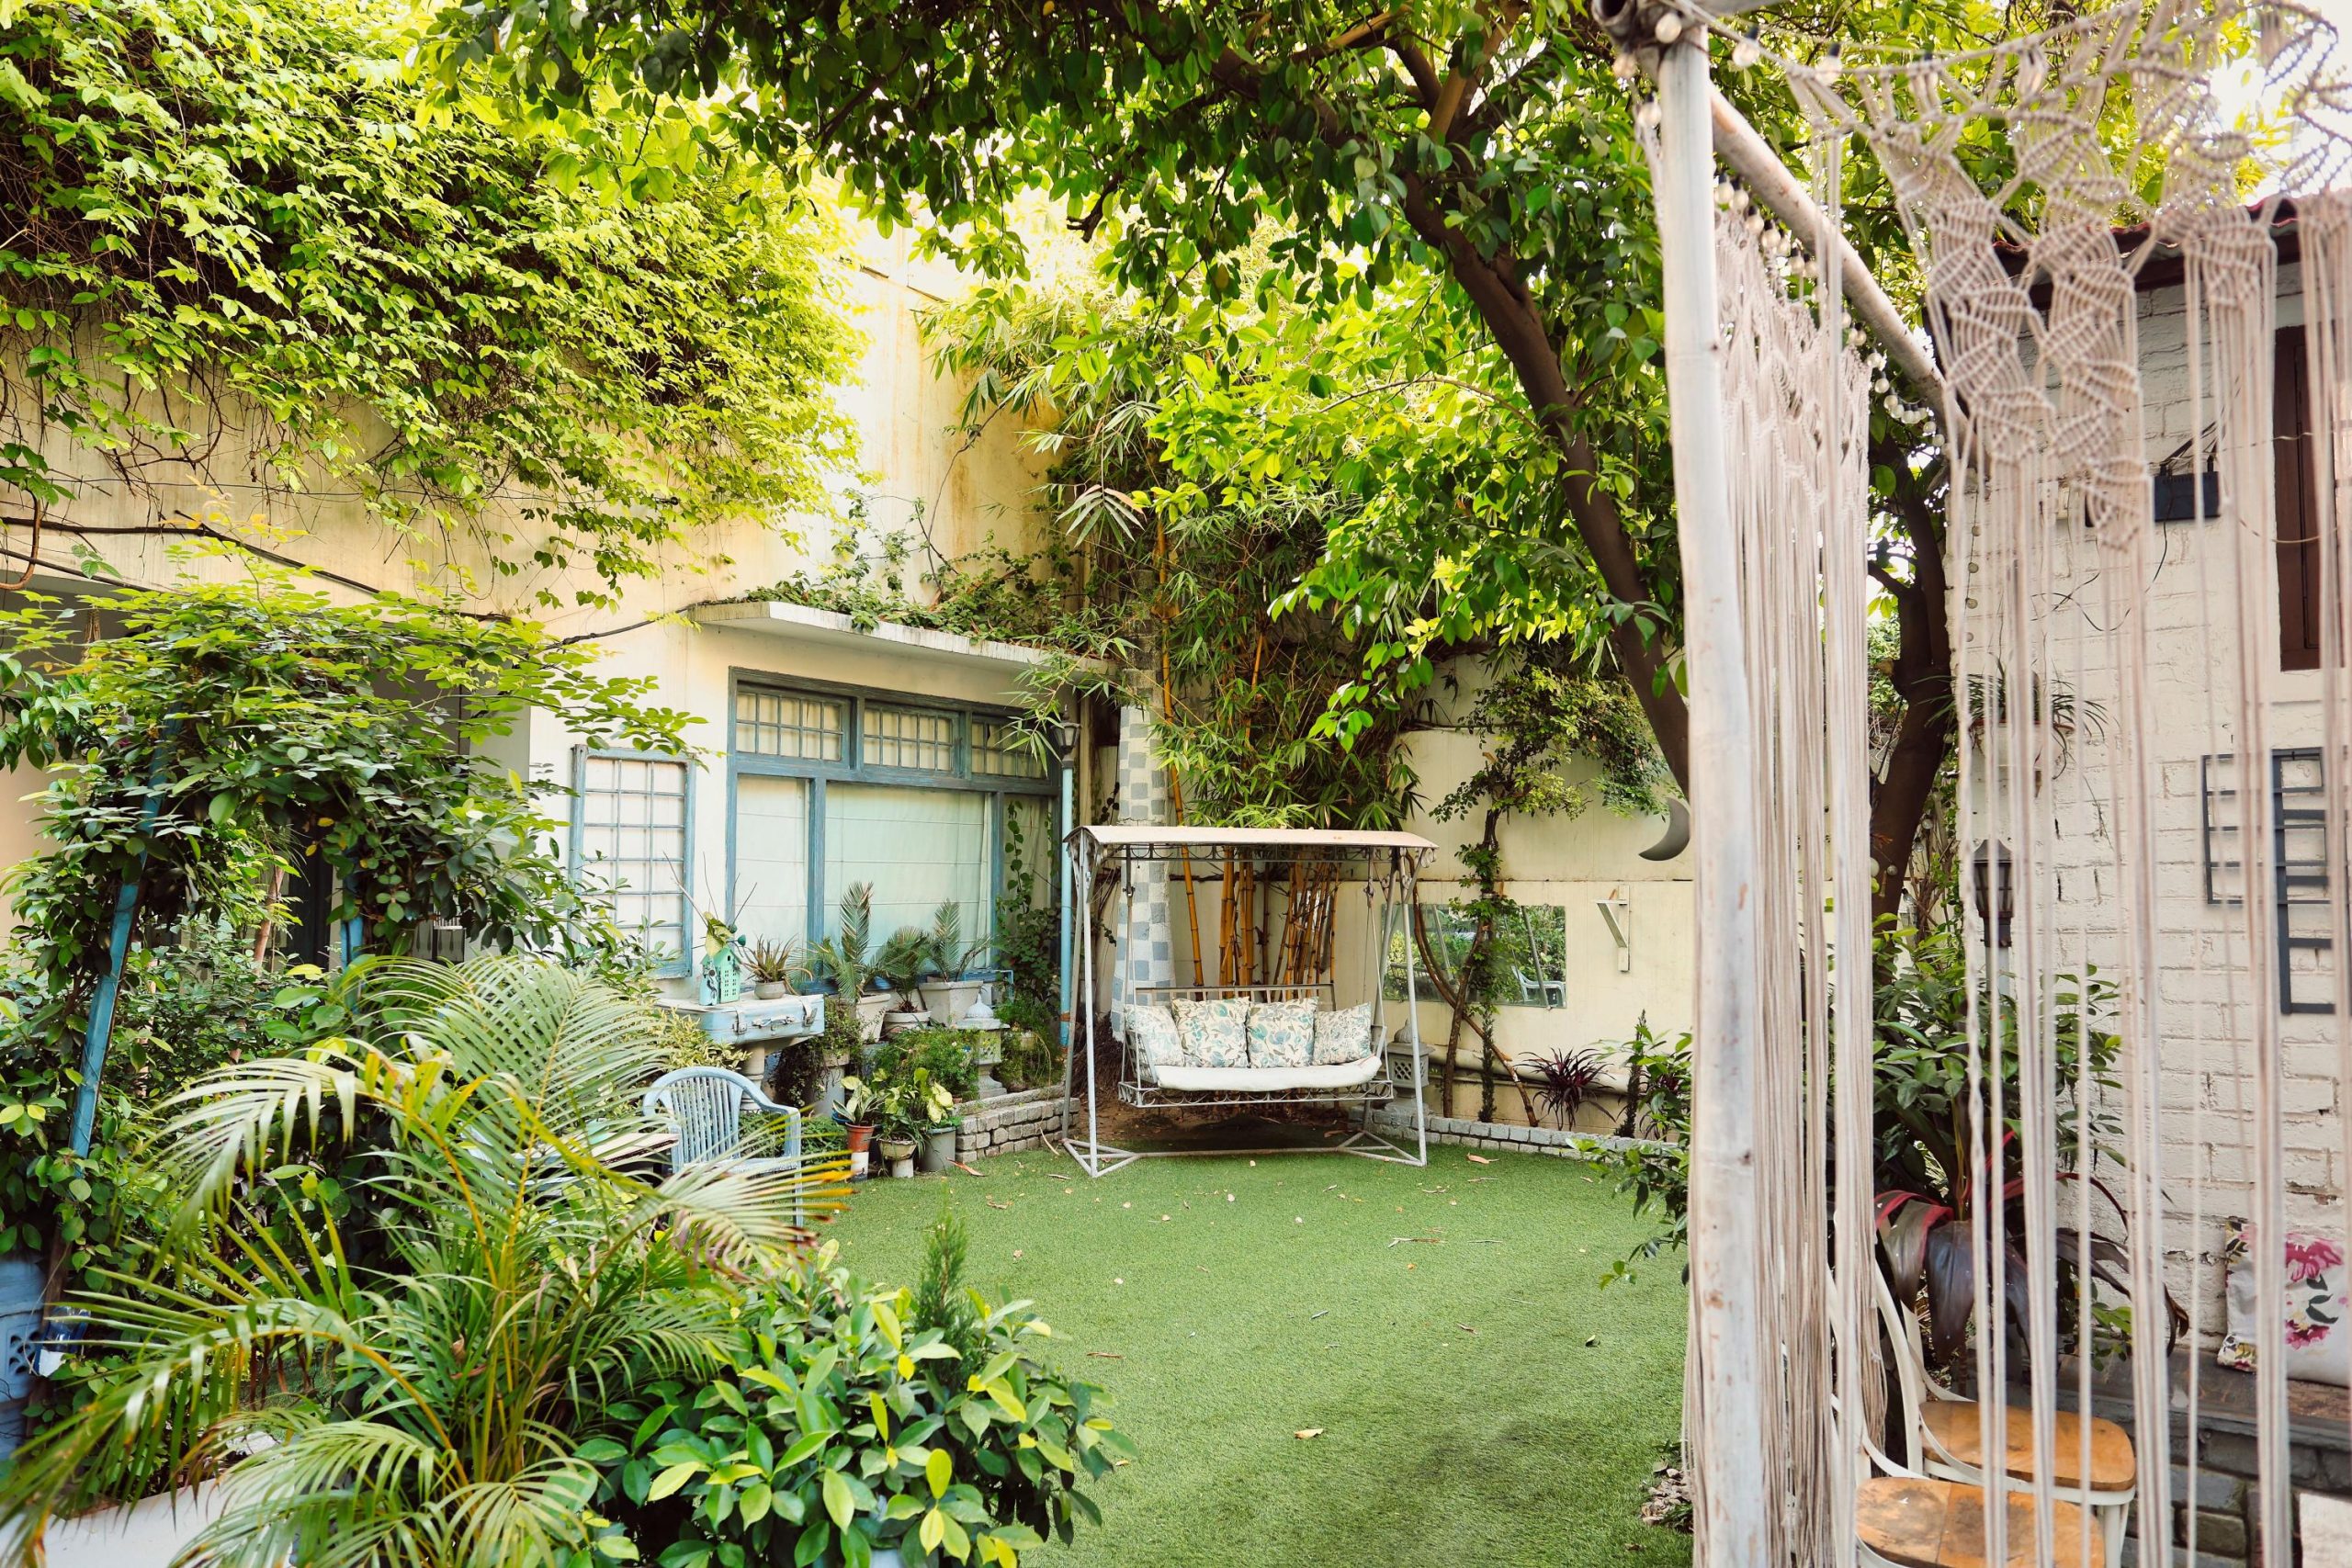
Curb appeal is where small efforts show up most in resale value and in how you feel pulling into your own driveway. The front door is the single highest-impact element. A fresh coat of paint in a saturated color, a new handle set for $80, and a modern house number plaque for $25 completely change the face of the house.
Low-cost exterior wins worth prioritizing:
- Pressure wash siding, walkways, and the driveway for a day of rental cost
- Replace dated porch lights with matte black lantern-style fixtures
- Add mulch and a few perennials along the foundation line
- Paint the mailbox or replace it with a modern post-mounted version
- Install solar path lights along the walkway for safety and warmth at night
Garage doors matter more than most people think since they often cover a third of the front facade. If replacement is out of reach, cleaning, repainting, and adding faux hardware kits can mimic the look of a carriage-style door for under $100.
Where Should You Shop to Stretch Every Dollar?
Knowing where to source materials separates projects that come in under budget from the ones that quietly double in cost. Big-box stores are convenient but rarely the cheapest option for anything other than basic lumber and paint.
Thrift stores and estate sales consistently produce solid wood furniture at ten to twenty percent of retail, and most of it needs nothing more than sanding and a fresh finish. Online marketplaces like Facebook Marketplace and Craigslist list free or cheap items daily — light fixtures, doors, cabinets, tile overages — from homeowners finishing their own projects.
Architectural salvage yards are the best-kept secret for character pieces. Reclaimed doors, vintage hardware, old barn wood, and period light fixtures often cost less than their modern knockoffs and bring authenticity no new product can match. Habitat for Humanity ReStores sell donated materials at steep discounts, and the inventory rotates constantly, so a weekly visit pays off.
Which DIY Skills Are Worth Learning First?
The fastest way to lower project costs is to eliminate the small jobs you’d otherwise pay someone to handle. A few basic skills cover the vast majority of household fixes.
Patching drywall is simple with a mesh patch, joint compound, and a putty knife — the whole process takes twenty minutes once you’ve done it twice. Caulking cleanly around tubs, windows, and baseboards transforms how finished a room looks and takes one steady hand plus a tube that costs under $10. Installing floating shelves, replacing a light fixture after cutting power at the breaker, and swapping a faucet are all projects with video walkthroughs available and tool lists under $50.
Learning to use a stud finder, a level, and a cordless drill unlocks almost every hanging and mounting project you’ll ever face. These three tools pay for themselves in a single weekend of avoided service calls.
Conclusion
Transforming your house without draining your savings comes down to a mindset shift more than anything else. The homeowners who end up with beautiful, personal spaces aren’t the ones with the biggest budgets — they’re the ones who plan carefully, shop patiently, and tackle one room at a time instead of trying to overhaul everything at once. Every project in this guide can be done over a weekend or two, and most cost less than a single dinner out when stretched over the months it takes to work through a whole house.
The hardest part is starting. Pick the room that frustrates you most and commit to one specific change this week — a coat of paint, new hardware, a rearranged layout. Small wins build momentum, and momentum is what carries people from the paralysis of that Sunday morning coffee to a home they actually love living in. The gap between where you are and where you want to be is smaller than it looks, and every weekend you spend working on it closes that gap faster than you’d expect.
Keep your spreadsheet updated, your receipts organized, and your expectations realistic. Celebrate the finished rooms before moving to the next one. The house you want is already hiding inside the house you have, andpulling it out takes nothing more than patience, a little sweat, and the willingness to try.