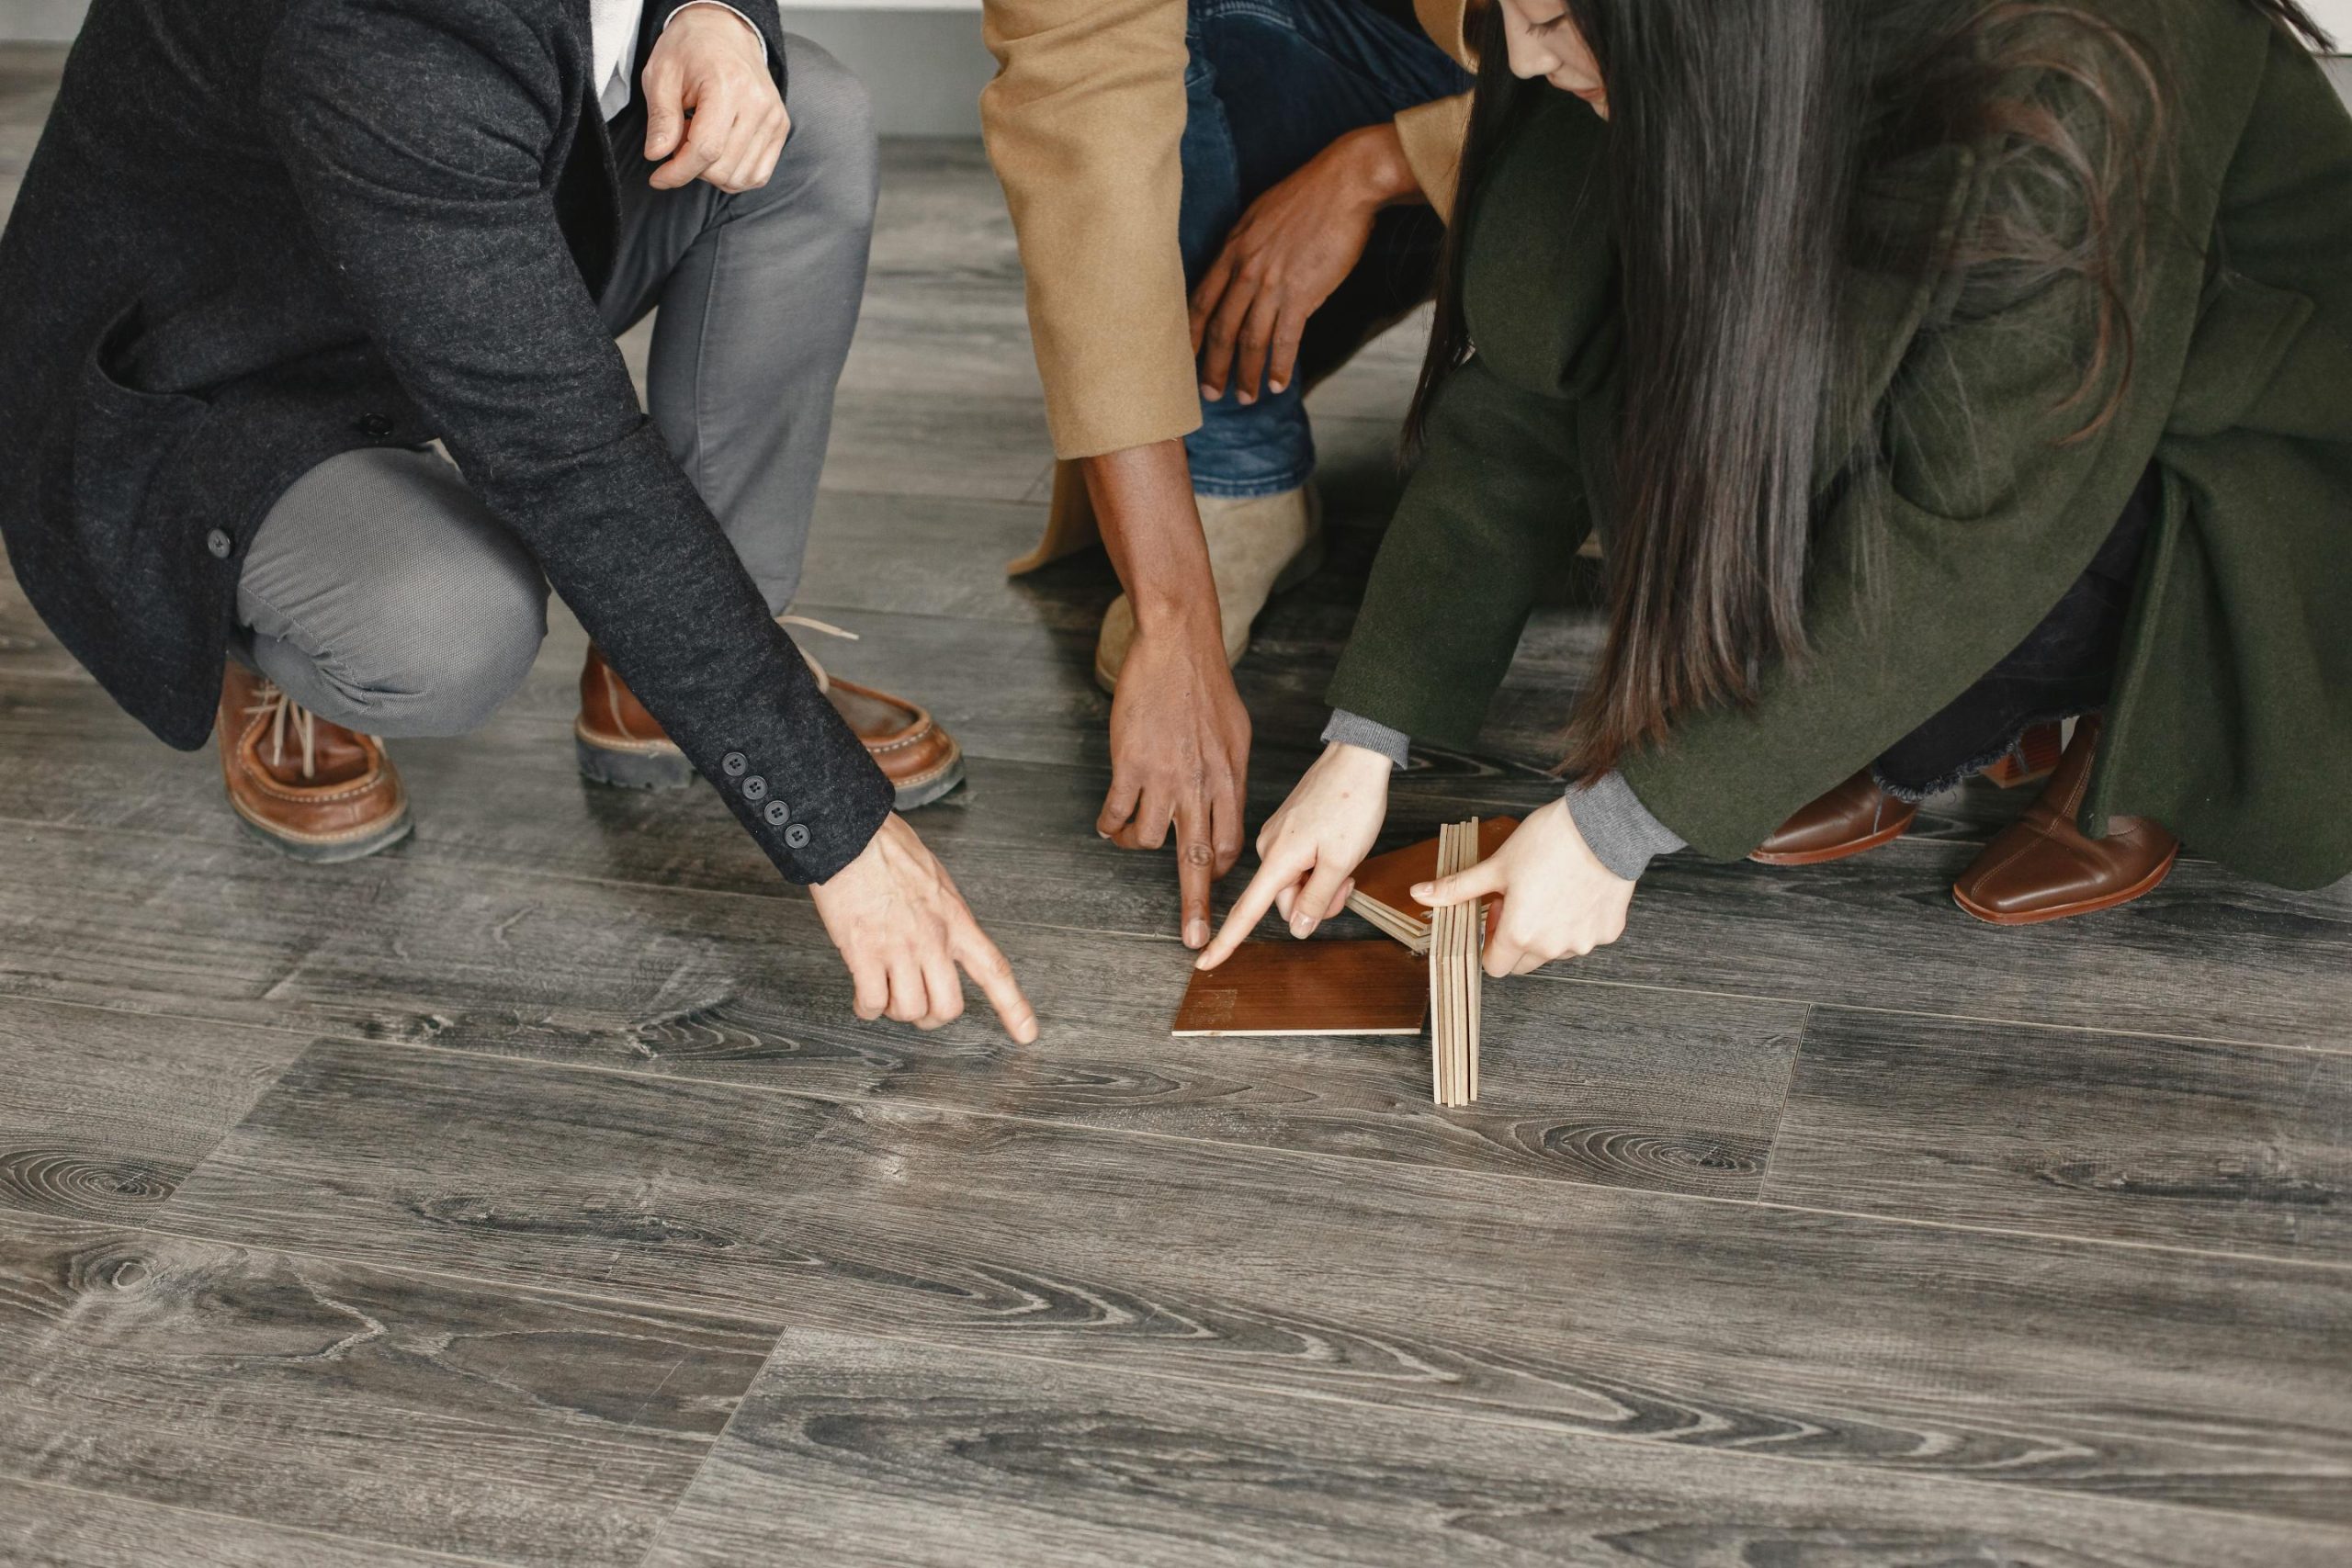
Flooring Options That Look Expensive but Cost Less
Walk into any designer showroom and you will see floors that practically glow. Rich wide-plank wood, glossy marble, warm terracotta, textured stone. Then you glance at the price tag and quietly back away. The gap between what looks beautiful and what feels affordable can seem impossibly wide, especially when you are trying to refresh a whole room without draining your savings.
The good news is that the flooring industry has changed dramatically in the last decade. Manufacturers have gotten shockingly good at mimicking high-end materials using cheaper substrates, and installation techniques have simplified to the point where many products can be laid down over a weekend. You no longer need a six-figure budget to get a floor that turns heads.
This article walks through the most common flooring frustrations homeowners run into and offers real, practical alternatives for each one. Whether you are stuck with cracked tile, scratched laminate, or carpet that was outdated two decades ago, there is a replacement out there that looks like money and spends like pocket change.
Why Does Real Hardwood Feel So Out of Reach?
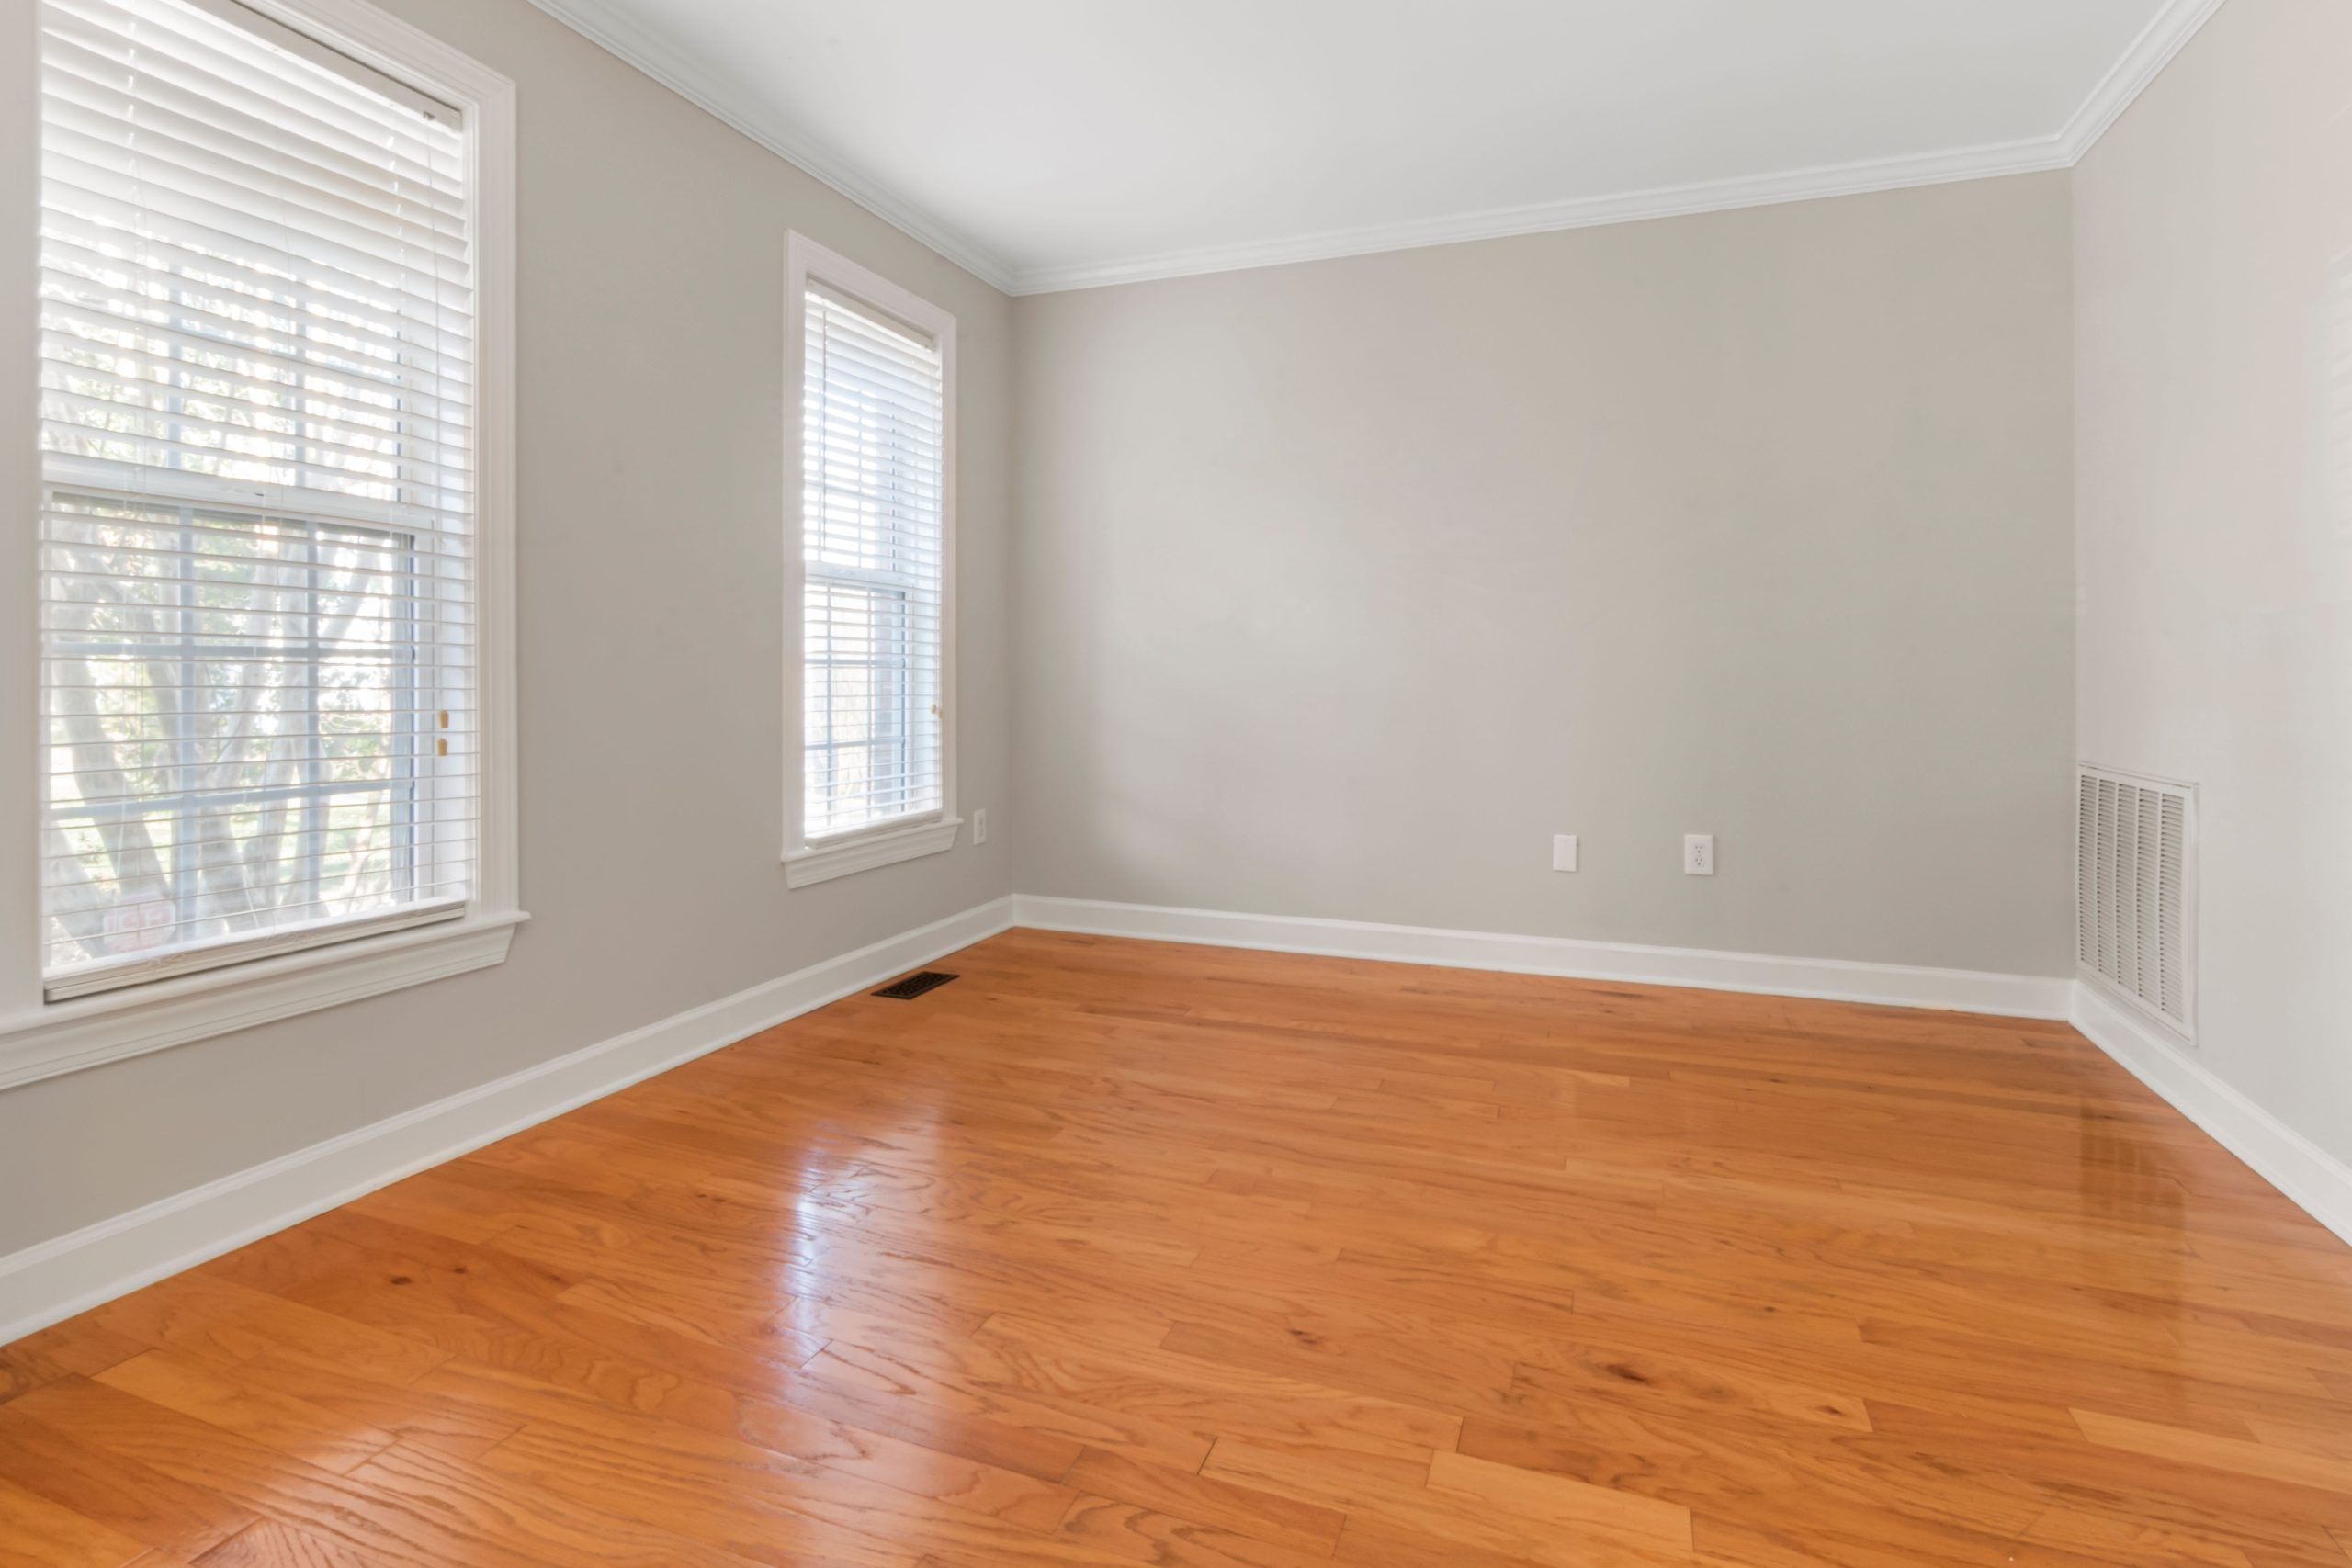
Hardwood is the dream for most people. It is warm, timeless, and buyers love it. According to Rustic Wood Floor Supply, installing genuine hardwood can increase resale value by 3 to 5% based on data from the National Association of Realtors. That is a serious return. The problem? Solid oak or walnut planks, plus professional installation, can easily run eight to fifteen dollars per square foot before you even talk about finishing.
The workaround is engineered wood or high-quality laminate. Engineered wood uses a thin veneer of real hardwood glued to a plywood base, which cuts the cost dramatically while keeping the authentic look underfoot. Laminate takes it further by using a photographic image of wood sealed under a durable wear layer, and today’s printing technology is almost indistinguishable from the real thing at arm’s length.
Choosing the Right Laminate Grade
Not all laminate is created equal. Cheap laminate from twenty years ago earned the material a bad reputation, but modern versions have come a long way. According to This Old House, laminate flooring generally ranges from $3 to $13 per square foot before installation, with the price shifting based on material quality and warranty length. Spend a little more for a thicker plank with a textured surface and beveled edges, and you get a floor that feels substantial rather than hollow.
What Can Replace Expensive Stone Tile?
Natural stone like travertine, slate, and marble is stunning, but it is also heavy, cold, porous, and expensive to install. A single marble tile can cost more than an entire box of its vinyl equivalent. For homeowners juggling multiple home renovation ideas on a budget, stone is usually the first casualty of the planning phase.
Luxury vinyl tile, often called LVT, solves this problem beautifully. It mimics the veining of marble, the roughness of slate, and the warmth of travertine without the weight or the price. It is also warmer underfoot, which matters more than people realize when they are standing barefoot in the kitchen at six in the morning.
Here are a few stone-look alternatives worth exploring:
- Luxury vinyl tile with embossed stone texture
- Porcelain tile printed to look like marble
- Groutable vinyl tile for a more authentic grid pattern
- Peel-and-stick vinyl squares for small bathrooms or laundry rooms
- Large-format ceramic tile with matte stone finishes
Each of these options can come in well under five dollars per square foot, and most can be installed without hiring a specialist if you are reasonably handy.
Is Luxury Vinyl Plank Really Worth the Hype?
Short answer: yes. LVP has quietly become the default choice for smart remodelers, and for good reason. According to Cost Per Project, luxury vinyl plank at $3 to $14 per square foot offers the best mix of appearance, toughness, water resistance, and easy installation for most budget-conscious households. That combination is hard to beat.
What makes LVP so appealing is its versatility. It handles kids, pets, spilled wine, muddy boots, and still looks sharp after years of use. It works in basements where moisture would destroy real wood. It installs over almost any existing subfloor, including old tile, which saves you the nightmare of tearing out whatever is already there.
Floating Installation Saves Serious Money
One underrated trick is choosing a click-lock floating format rather than glue-down planks. According to Smart Constructs, going with a floating install saves about $0.30 to $0.60 per square foot because you skip the adhesive entirely. Across a thousand-square-foot project, that is hundreds of dollars back in your pocket, and the floor performs just as well. Many DIYers can finish an average room in a single day with nothing more than a utility knife and a tapping block.
How Do You Fake a High-End Concrete Floor?
Polished concrete has become a darling of modern design. It looks sleek, industrial, and effortlessly cool. But grinding, sealing, and polishing a real concrete slab is labor-intensive work, and if you do not already have a concrete subfloor, forget it entirely. This is one of those Home Improvement projects where the dream and the reality rarely match up.
Luckily, you can fake the concrete look convincingly. Large-format porcelain tile printed with gray, cement-style patterns gives you the same minimalist vibe with a fraction of the labor. Concrete-look vinyl is another option, offering that urban warehouse feel in a format a homeowner can actually install.
Some practical ways to get the concrete aesthetic affordably:
- Porcelain tile in matte gray with subtle variation
- Concrete-pattern luxury vinyl sheet
- Microcement overlay applied over existing floors
- Epoxy coatings in basements or garages
- Painted plywood sealed with industrial polyurethane
The epoxy and paint routes in particular are shockingly cheap and can transform a drab basement into something that feels intentional and modern.
What About the Rooms Everyone Forgets?
Entryways, laundry rooms, mudrooms, and powder baths tend to get overlooked in flooring conversations. These small spaces are perfect testing grounds for bolder choices because the square footage is low and the visual impact is high. A patterned encaustic-look tile that would blow your budget in a kitchen might cost less than two hundred dollars in a half bath.
Reclaimed or salvaged materials also shine in these spaces. Facebook Marketplace, Habitat for Humanity ReStores, and local salvage yards frequently stock partial boxes of high-end tile at steep discounts. If you only need forty square feet, you can often grab designer-grade products for pennies on the dollar. Smart planning here pairs well with other budget-friendly renovation strategies because leftover flooring from one project can often carry a small accent space from start to finish.
Mixing Materials Without Looking Cheap
One common fear is that using different flooring in adjacent rooms will look disjointed or amateur. The trick is to pick materials that share a common tone or undertone, even if the format differs. A warm oak-look LVP in the living room can transition cleanly into a terracotta-look tile in the entry if both lean toward the same earthy palette. Use a clean metal threshold strip at the seam, and the change reads as intentional rather than accidental.
Which Underlayment and Prep Choices Protect Your Investment?
The floor itself gets all the attention, but what sits beneath it often decides whether the installation feels luxurious or disappointing. A thin, cheap underlayment under a beautiful plank floor will make every step sound hollow, and uneven subfloors cause clicking, flexing, and premature wear at the joints.
Spending a little extra on quality prep pays off visibly. A dense cork or felt underlayment softens footsteps and muffles sound in a way that mimics the solid feel of real hardwood. Self-leveling compound poured over a dipped subfloor eliminates the lippage that screams budget install. These are not glamorous purchases, but they separate a floor that looks expensive from one that only photographs well.
A few prep upgrades worth the small splurge:
- Premium acoustic underlayment rated for impact noise
- Moisture barrier film in basements and ground-floor rooms
- Self-leveling compound for dipped or uneven subfloors
- Transition strips in matching tones rather than generic silver
- Quarter-round trim painted or stained to match baseboards
Any one of these upgrades costs very little on its own, but together they take an average install and push it into territory that feels custom.
How Do You Keep a Budget Floor Looking Expensive Over Time?
Even the smartest material choice will start to look cheap if it is not cared for properly. Scratches, dulled finishes, and worn traffic lanes give away an aging floor faster than the material itself. The good news is that maintenance for most modern budget flooring is almost comically simple compared to hardwood or stone.
Felt pads under every piece of furniture are non-negotiable. A soft-bristle broom or microfiber mop handles daily dust without scratching the wear layer. Avoid steam mops on vinyl and laminate, because trapped heat and moisture can delaminate the planks over time. For any floor with a textured surface, a quarterly wipe with a manufacturer-approved cleaner keeps the grooves from collecting grime that dulls the finish.
Area rugs in high-traffic zones are another quiet trick that stretches the life of an affordable floor by years. They absorb the brunt of foot traffic in entryways and hallways, which are usually the first places a floor starts to show its age. Rotate them occasionally so the exposed flooring underneath weathers evenly with the rest of the room.
Conclusion
Beautiful flooring is no longer gated behind a luxury budget. Between engineered wood, high-grade laminate, luxury vinyl plank and tile, porcelain stone lookalikes, and creative finishes like epoxy or microcement, nearly every high-end look has a convincing affordable counterpart. The trick is knowing which product to match to which room, which corners to cut, and which small upgrades are worth protecting.
Approach the project with a clear eye for proportion. Spend where it shows and matters most, save where nobody will notice, and treat prep and trim as part of the finished look rather than an afterthought. A thoughtful install of a mid-priced plank will almost always outperform a careless install of an expensive one.
Your floor sets the tone for every piece of furniture, every paint color, and every design decision that follows. Getting it right without overspending frees up the rest of the budget for the details that bring the whole room together. With the options available today, there is no reason the floor you walk on cannot look like it cost three times what you actually paid for it.